
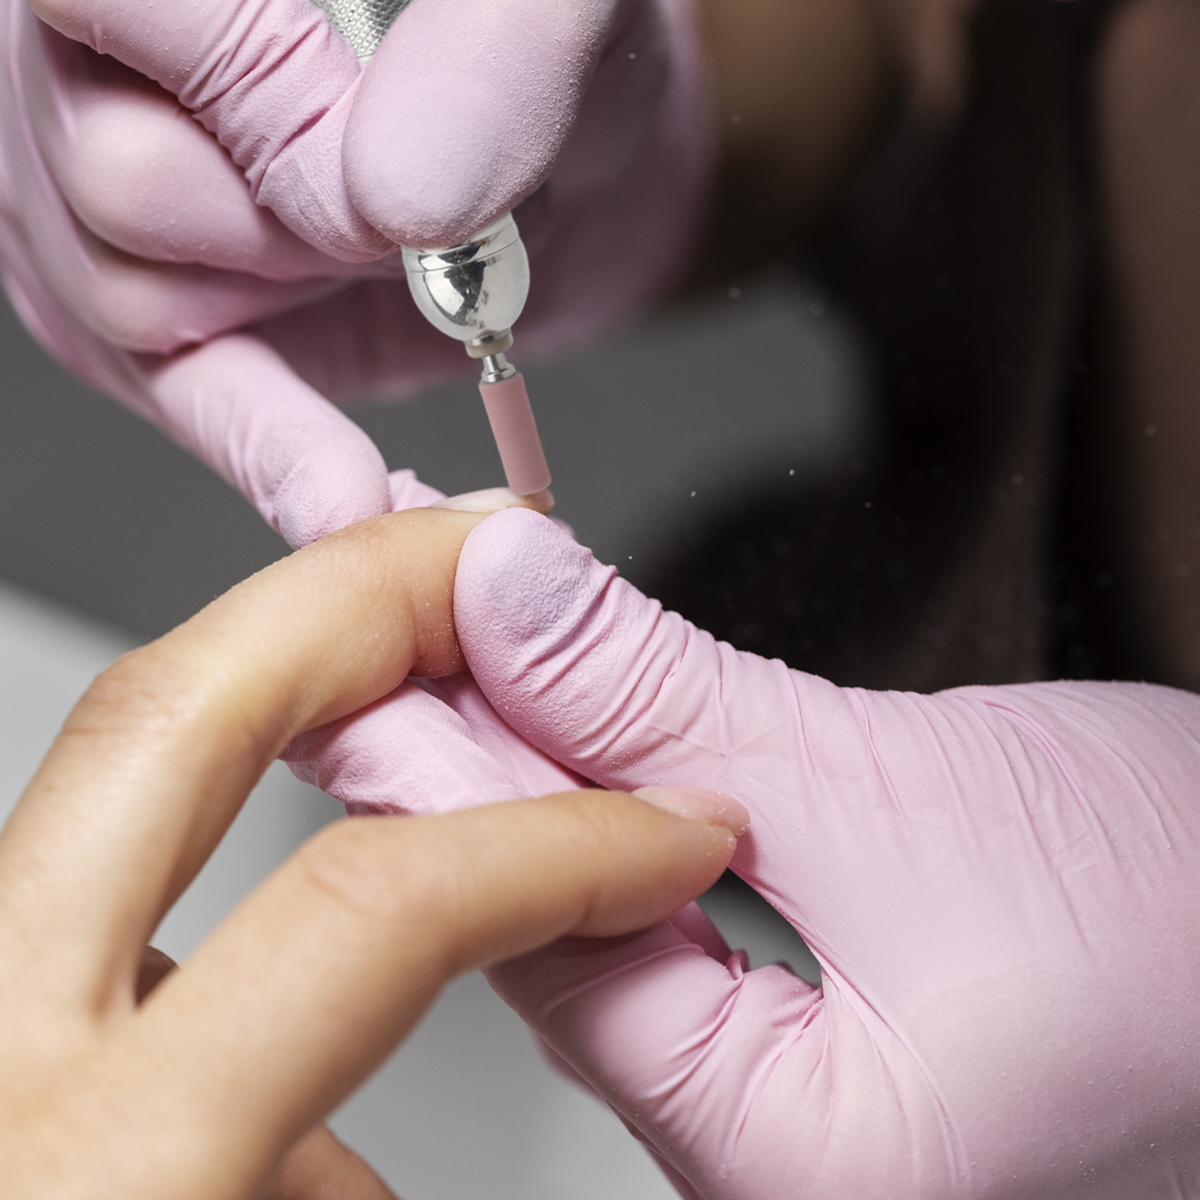
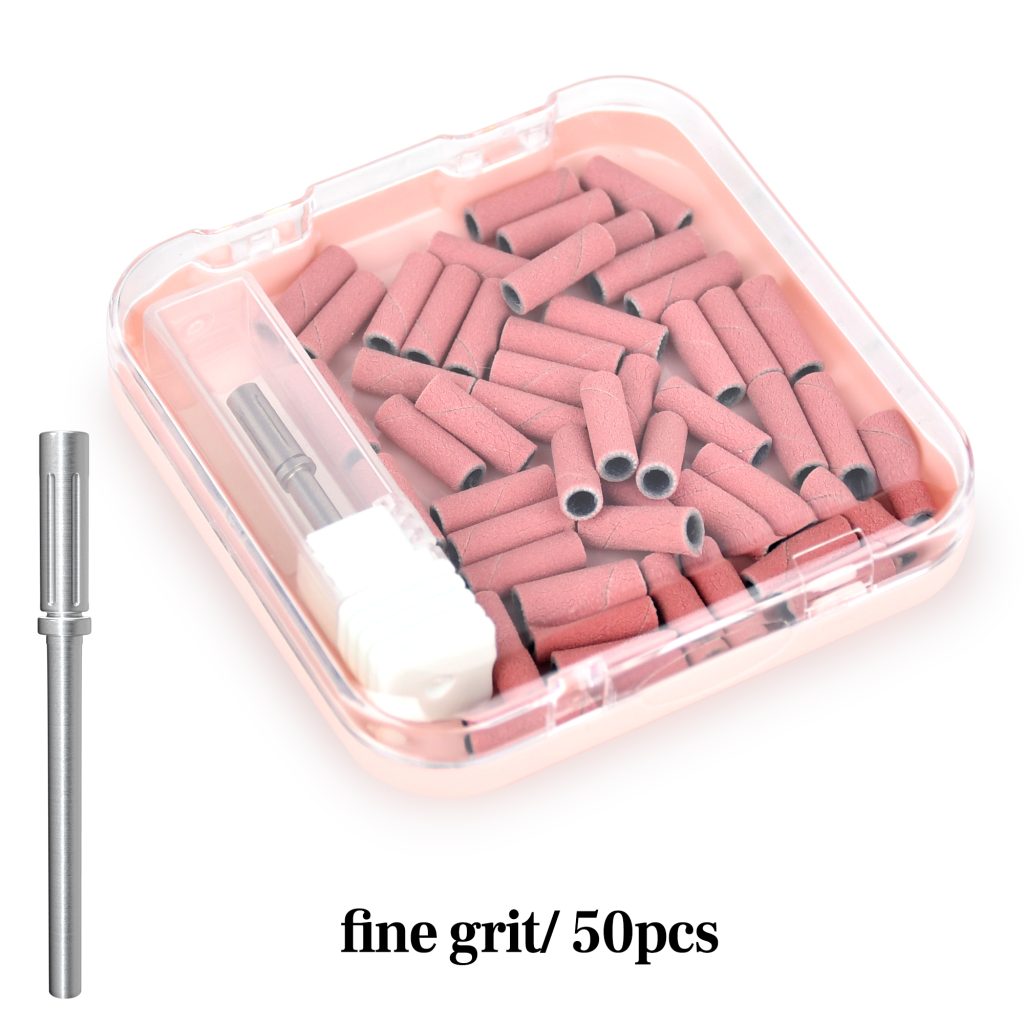
Mini sanding bands are small abrasive sleeves that fit onto a mandrel bit for an electric nail file. They are narrower than standard bands, usually around 8 to 9 millimeters wide, which makes them ideal for precision work. They are not the best tool for removing large amounts of product quickly. That job belongs to larger bits or standard bands. But for repairing artificial nails, refining edges, cleaning around the cuticle, and thinning product safely near the natural nail, mini sanding bands are hard to beat.
This guide explains how to use mini sanding bands for two common tasks: repairing artificial nails and removing them safely.
Why Use Mini Sanding Bands?
The main advantage is control. Sanding band can reach the sidewalls, the cuticle area, and small nail beds without touching the skin. This precision reduces the risk of accidental cuts and over-filing. Mini bands are also disposable, which supports good hygiene. You use one band per client or per session and then discard it. They generate less heat than coarse metal bits when used correctly, and they are beginner-friendly when paired with a low speed and light pressure.
They come in different grits. Fine grit, usually 180 to 240, is safe for natural nail prep and delicate finishing. Medium grit, around 120 to 150, is useful for refining artificial product and removing gel polish. Coarse grit, 80 to 100, is for heavy product removal on acrylics and hard gels only. Never use coarse grit on natural nails.
Tools You Need
Before you begin, gather the essentials:
- An electric nail file with adjustable speed
- A mandrel bit compatible with mini sanding bands, usually 3/32 inch
- Mini sanding bands in coarse, medium, and fine grits
- A fine hand file and buffer block
- A dust brush
- A dust mask and safety glasses
- Cuticle oil and hand cream
- Optional: 100% acetone, cotton balls, and foil for soak-off finishing
- Optional: nail glue or repair resin for crack repair
Work in a well-ventilated area. Artificial nail dust is fine and can irritate the lungs and eyes.
Part 1: Using Mini Sanding Bands for Artificial Nail Repair
Artificial nails can lift, crack, or develop rough edges. Mini sanding bands help you clean and refine the damaged area before you repair it.
Step 1: Assess the Damage
Clean the nail and dry it thoroughly. Look for lifting at the cuticle or sidewalls, cracks, chips, or uneven edges. If there is redness, swelling, pain, or a bad odor, do not repair the nail. Remove the product and see a doctor. Repair is only for cosmetic damage on healthy nails.
Step 2: Remove Lifted Product
Choose a fine or medium mini sanding band. Set the e-file to a low speed, around 5,000 to 8,000 RPM. Hold the file like a pencil and rest your pinky for stability. Gently file away the lifted edge. Keep the band moving and use light pressure. Do not dig into the natural nail. Stop when the lifted area is smooth and flush.
Step 3: Smooth Cracks and Rough Edges
Switch to a fine band. Gently refine the edges of any cracks or chips. The goal is to remove loose, jagged material so the repair product can sit flat. Do not try to file the crack away completely. You are preparing the surface, not thinning the whole nail.
Step 4: Prep for the Repair
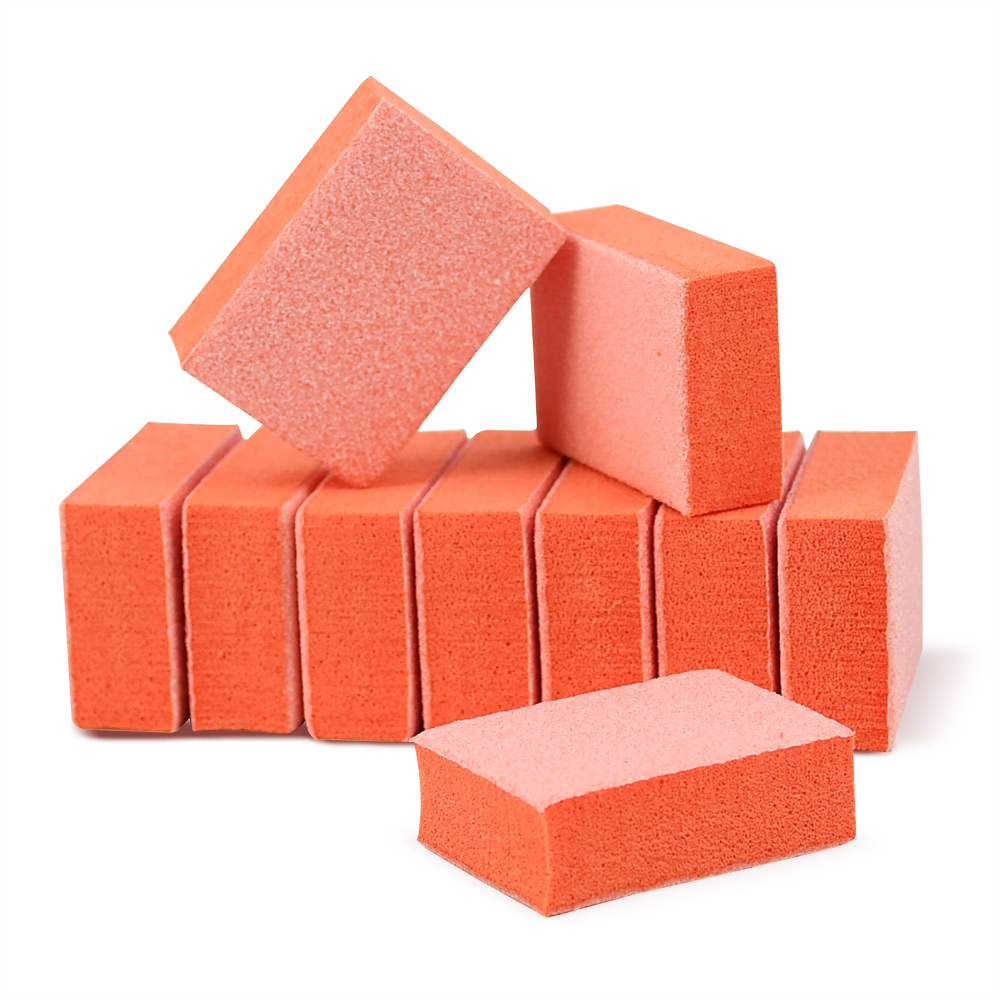
Lightly buff the area around the damage with a fine buffer block. Remove all dust. Clean the surface with alcohol or a dehydrator. If you are using nail glue, resin, or builder gel, follow the product instructions. Apply the repair product, shape it, and cure or let it harden.
Step 5: Refine the Repair
Once the repair is hard, use a fine mini sanding band at low speed to blend the repair into the surrounding nail. Keep the band flat and moving. Check the surface with your fingertip. It should feel smooth and flush. Finish with a buffer, remove dust, and apply cuticle oil.
Part 2: Using Mini Sanding Bands for Artificial Nail Removal
Mini bands are not designed to remove thick acrylic or hard gel on their own. They are best used after the bulk has been reduced with a coarser tool, or for thinning product near the natural nail.
Step 1: Shorten and Remove Bulk
Use nail clippers to shorten long artificial nails. Then use a coarse standard band or a carbide bit to remove the bulk of the product. Keep the file moving and use light pressure. Stop when you are within a few millimeters of the natural nail.
Step 2: Switch to a Medium Mini Band
Attach a medium mini sanding band. Set the speed to around 10,000 to 15,000 RPM for bulk removal, then lower to 5,000 to 8,000 RPM as you get closer to the natural nail. Work in smooth, overlapping strokes. Start at the center of the nail and move toward the free edge, then work the sides. Leave the cuticle area for last.
Step 3: Watch the Dust
Colored dust means you are still removing artificial product. When the dust turns white or clear, you are near the base layer. Slow down and switch to a fine band.
Step 4: Stop at a Thin Layer
Do not file down to the bare natural nail. Leave a thin layer of product on the nail plate. This protects the natural nail from damage. If the product is soak-off gel or soft resin, you can now soak off the remaining layer with acetone. If it is hard gel or acrylic, continue filing gently with a fine band until the layer is flush.
Step 5: Smooth and Hydrate
Use a fine mini band or buffer to smooth the surface. Remove all dust. Wash your hands. Apply cuticle oil generously and follow with hand cream.
Safety Rules
Keep the band moving at all times. Never hold it in one spot for more than a second. Heat builds quickly and can burn the nail bed.
Use light pressure. Let the band do the work. Pressing down causes friction and removes too much material.
Match the grit to the task. Coarse grit is for artificial product only. Fine grit is for natural nails and finishing.
Never file living skin. Mini bands are for the nail plate and dead tissue only.
Stop if you feel heat or pain. Heat is a warning sign. Stop, let the nail cool, and continue at a lower speed.
Replace bands often. A worn band cuts inefficiently and generates heat.
Final Thoughts
Mini sanding bands are a precision tool, not a bulk removal tool. They excel at cleaning lifted edges, smoothing cracks, blending repairs, and thinning artificial product near the natural nail. Use them at low speed with light pressure and constant motion. Stop at a thin layer. Never file living skin. With proper technique and aftercare, mini sanding bands help you repair and remove artificial nails safely while protecting the health of the natural nail underneath.